Through this tutorial, we intend to help you create a new Onlyfans account, as a CONTENT CREATOR – which means you can put your photos and videos for sale, winning money.
Unlike other platforms in which you can sell your content for adults, in OnlyFans all generos, including groups or couples are accepted.
While this tutorial seems a bit long and complicated, we assure you that it is actually fairly easy and should not take more than 10-12 minutes.
Let´s START
The first step is to go to https://onlyfans.com/. You can directly access with your Google / Twitter account, or you can choose to create an account directly in Onlyfans.
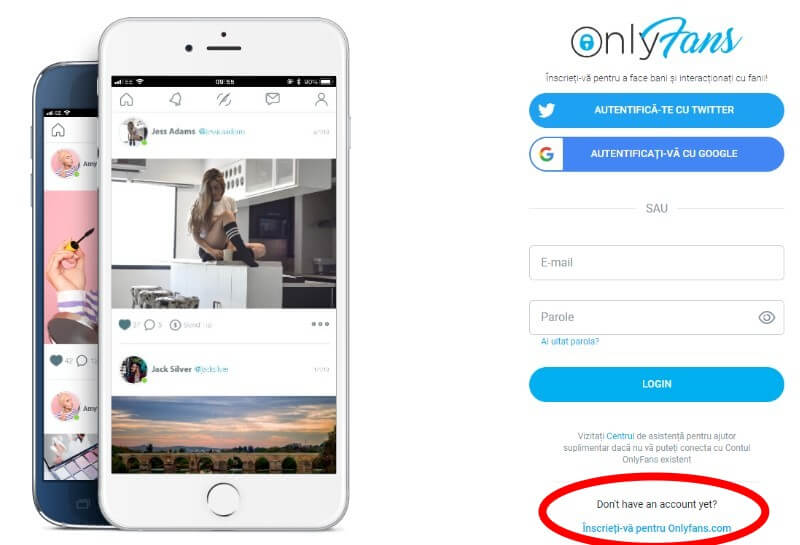
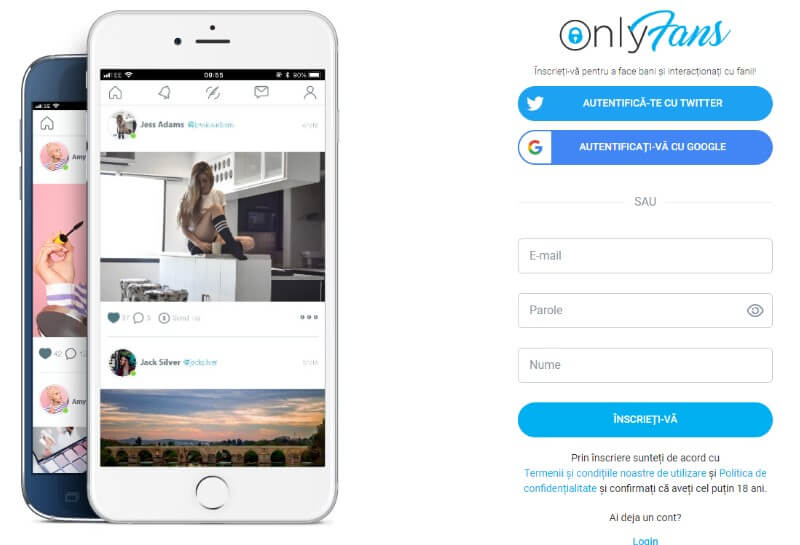
Step 2. – If you have chosen to create a new account, you just have to add your email, password and a username.
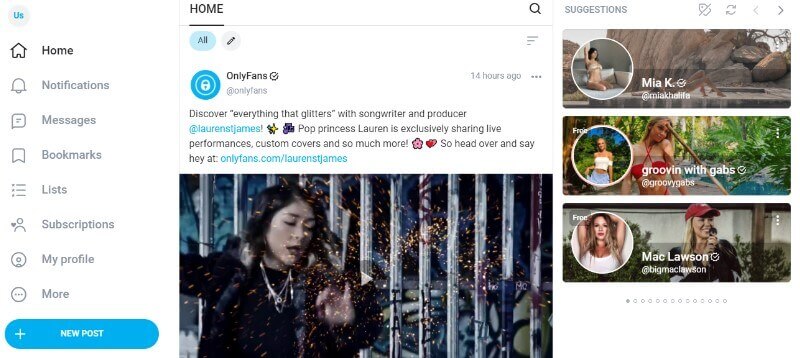
Now that the account has been created, you will see on the left side a menu with several tabs.
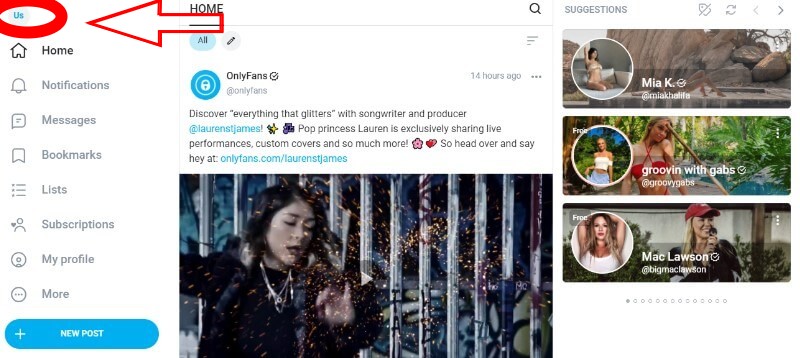
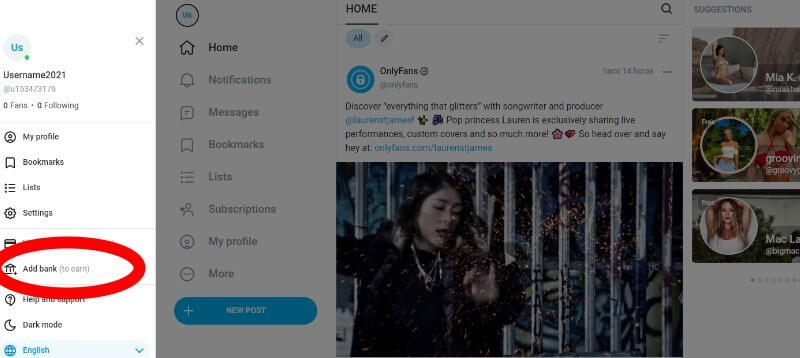
Step 3. To activate the account and earn money on this platform, you will have to click on your username (example in the image below) where you will have to make some settings.
Another menu will appear with many configurations. To become a “Content Creator“, you must verify your data first, for this we are going to open the “Add Bank” tab.
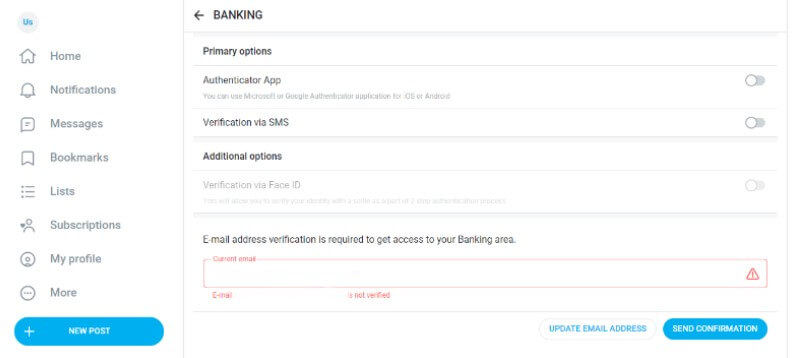
Step 4 – Confirm the email address.
The first will be to confirm the email (it is the same one that you have put to create the account at the beginning of this tutorial). You just have to press the “Send confirmation” button, go to your email account and open the Onlyfans link.
Step 5 – Personal configurations.
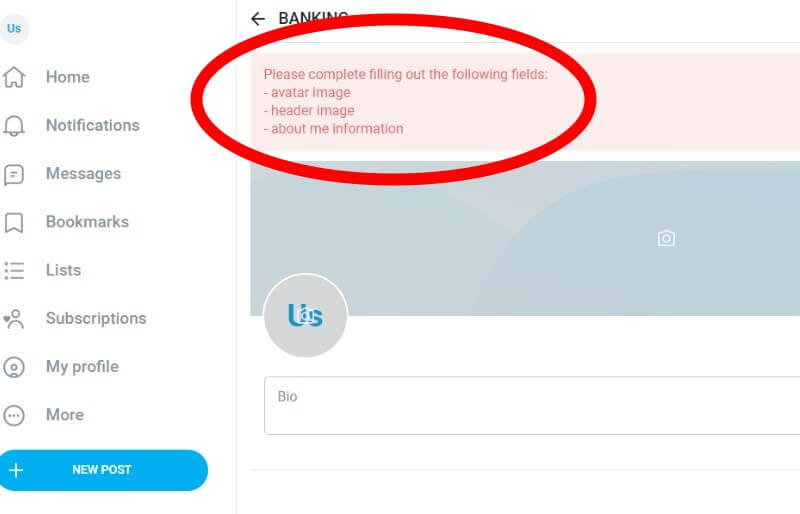
Once you have confirmed your email, you will have the following mandatory configurations:
- Avatar image
- Header image (cover)
- Biography (A few words about you)
ATTENTION: The Avatar image must be an image with your face, otherwise, you will not approve the account.
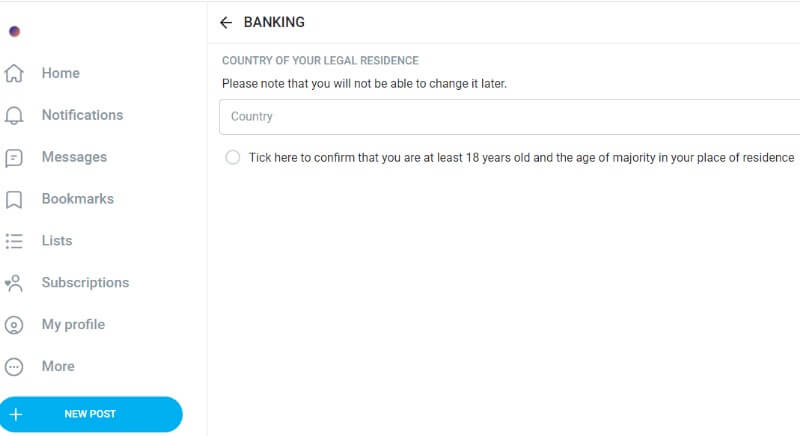
After completing the previous step, you will have to configure the country of residence. Attention (it will not be possible to change it later).
Also press in the box below to confirm that you are over 18 years old.
Step 6 – Complete the verification.
Click on “Complete Verification” and another site will open so that it continues with the configuration of your account.
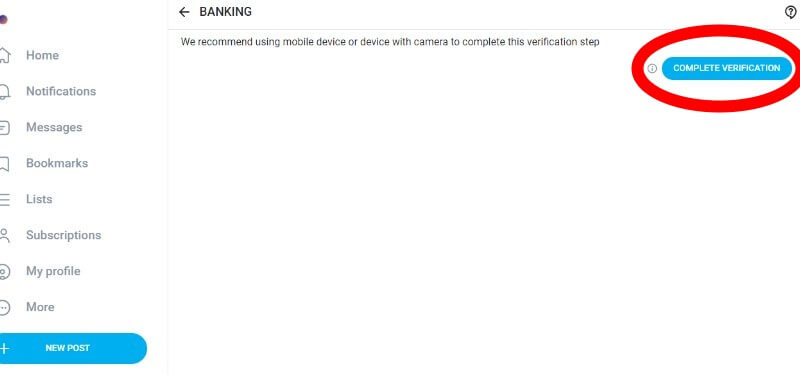
Step 7. Checking identity and age.
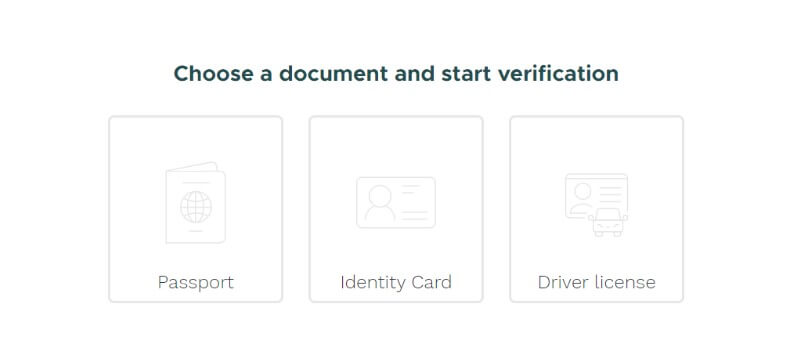
A verification program will automatically open on which you will have to upload the photos of your identity document and take a few “selfies” from your face. Choose which document you are going to send:
- Identity card
- Passport
- Driver license
The photographs are only to verify age and identity and will not be accessible to users. These photos must be clear, well focused and make sure that the whole document is seen (even the outer edges).
… finally … just one last step is to complete …
Last step – Just after sending the photos of your documents, the program accepts your web camera. From your Spartphone or your laptop, bring your face closer to the camera and read the instructions on the screen (tell you to approach, move away or focus your face ….). If you have any filter for your camera, we recommend you deactivate it before.
Now just wait for approval, usually it does not take more than two three hours. You can check if it is already active on the “Add Bank” tab (see photos in step 3).
As soon as we receive approval, we can choose to select and configure the form of payment we want ….. but this can be done at any time, since it is only necessary before asking for payment … and to be able to sell our Content, we must first publish it.
For this, we will jump (for the moment) this step and first we are going to concentrate on creating content and putting it on sale.
Very soon – a new tutorial on how to publish content !!!
We hope this information has been useful!


